Sunday, December 12, 2010

Christmas Tree Shirt

My youngest daughter has had many Christmas shirts, pajamas, and dresses handed down to her, but my oldest didn't have one Christmas thing. So, I made my her an appliqued Christmas tree shirt.

I think I saw the ruffle Christmas tree idea somewhere last year, but I can't remember where. I originally wanted to use ribbon for the tree, but I ran out of green ribbon. I had this green fabric, so I decided to cut it into strips with pinking shears and gather it, then sew the strips in rows on the shirt.

I used a button for the star and a piece of brown ribbon for the trunk.


Five Dolls and One Monster

My parents have three kids - all girls. My parents have six grandkids - five girls and one boy. I decided to make Black Apple dolls for Christmas for my girls and their cousins. But what about the boy!? I looked at Etsy.com for inspiration and decided to make him a little, stuffed, green monster.


the girls


the green monster


I think he looks pretty content amongst all the girls, don't you?

Friday, December 10, 2010

Baby's Winter Hat


I have made a few of these hats using this tutorial for my own kids. This yellow one is for my new niece. The tutorial is really awesome and the hat is very easy and inexpensive to make. I highly recommend it. Oh, and my kids love the hats, so they keep them on, which is always a plus.

Birthday Girl Outfit

Before (thrift store shirt)


After (outfit for my cousin, who turned nine)


I used the shirt bottom to make a simple, elastic-waisted skirt. I used more of the fabric to make an appliqued shirt and matching hair bow.

Saturday, September 18, 2010

Duct Tape Wallet

Wanna make something for your 13-year-old cousin's birthday? And he's a boy? Hmmmm....how about a duct tape wallet? Just add a little bit of cash inside and it makes the perfect gift for a teenage boy (or even adults)!


I love this b/c it's so different than anything I usually make. My cousin LOVED it and it was easy to make. Just search on You Tube and you will find lots of tutorials. Happy taping!

Final Quiet Book Pages, for now

All I have left to do is finish the cover! I'm so excited, but I am saving the quiet book for a Christmas present. Who knows, I may not finish the cover until Christmas, anyway.

Clock Page


I am so mad about this page. It is definitely my least favorite. The button is sewn on too tightly, so the felt hands don't move easily. I'm going to have to do something about it, but it's going to be difficult b/c I already sewed the page together.

Shoe Page


I love how this page looks, but I know I should have reinforced the holes for the laces better. Maybe with metal grommets? I used interfacing on the back, but I still think the felt will tear. Ahhh! Oh well. I have gotten a little lazy here at the end.

I got the idea for the shoe page here.

Tuesday, August 24, 2010

Kid Crafts

Over the summer I highly neglected not only this blog but my family blog as well. I am now back into the swing of things and hope to be on both a little bit more, always knowing that my family's needs do come first.
Joyschool has started back up and today I was the host. Our theme for the week is the beach. I made cute little lobsters for the kids last night. I found the idea in the Publix magazine that comes out every so often. I was hoping that the kids would be able to help me with it but the glue took so long to dry that I just did it for them and then we did another craft today. I think they turned out really cute. I am looking forward to Thursday's craft as well, a rock sea turtle, which I found in the Family Fun magazine. Hope it all goes well and I will post pictures when we are all done.


During summer break I did work on a few other things as well. Here they are....

A Lima bean wreath. I can not remember where I found this idea but I really liked it and wanted one for my own house.
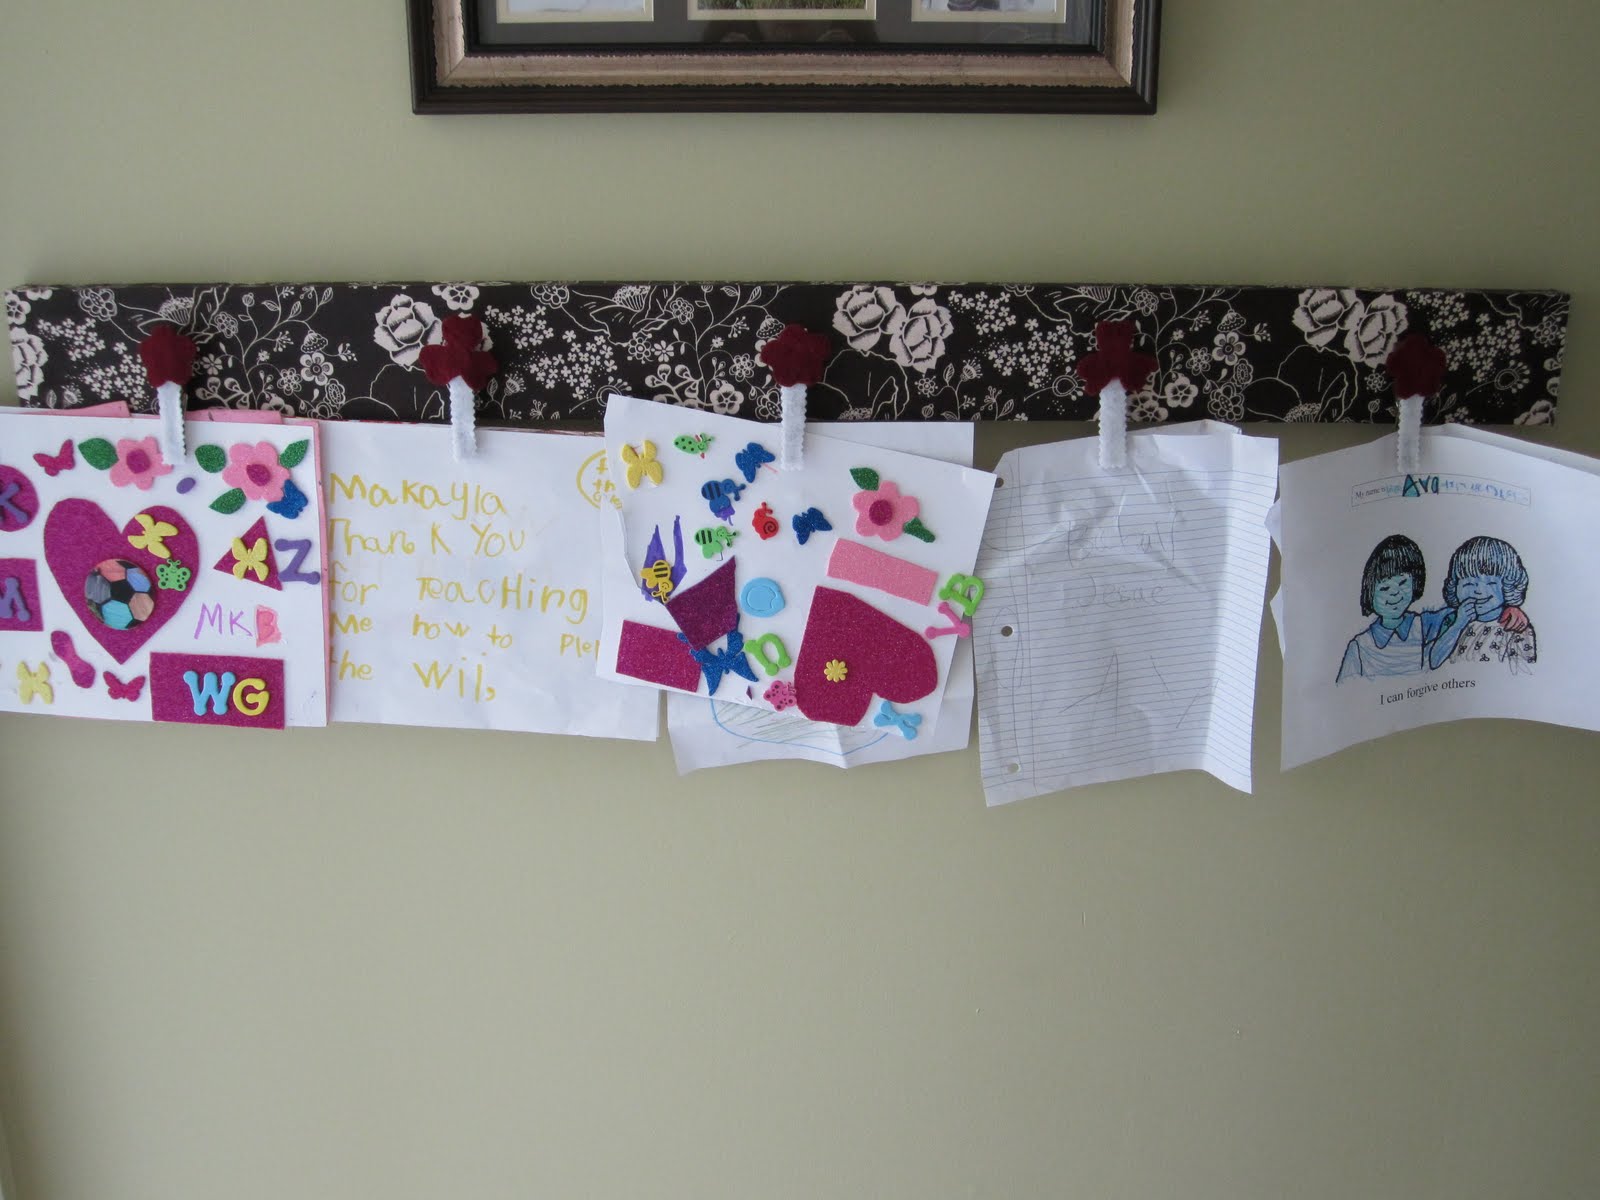
I finally finished my last project display board. It has been put to great use.


With the help of my good friend and blog contributor Alison and my mom we made 60 warm fuzzy for our most recent Primary Activity.

When my sister and her kids were in town we wanted to do a kid friendly craft. We decided to make some cute necklaces. Here we are in the process of making them. We made one for each child.


Here is the finished product. Makayla actually made the darker one for me for Mother's Day.
Materials needed for this craft: A three inch wide by about 45 inches long strip of fabric, marbles, and beads.
What you do: Fold in half the fabric strip and sew together. Turn the fabric right side out. Fold one end in a little and sew it shut. Figure out where and how you want to marbles to be placed. Once you have that figured out the start with a bead and the marble and so on. When you have all the marbles and beads that you want you sew up the other end the way you did the first and you will have a finished necklace. So easy and with so many choices of fabric so cute. Enjoy.


More coming soon. Our craft group is meeting up again after the summer off. We are really excited and have some great things we plan on doing.

Thursday, August 5, 2010

4th of July Dress and Easy Star Banner


I've had this awesome red, white, and blue flowered fabric lying around for awhile. My grandmother gave it to me with a ton of other goodies, and I knew I wanted to make a 4th of July dress out of it. Like the Easter dress, I just kinda made it up with a plan in my head of how I wanted it to turn out.


I used a red and white striped fabric (that my gram also gave me) for trim and a ruffle. I shirred the top using elastic thread in the bobbin of my machine. There are a ton of tutorials online about how to do this. It's really easy once you practice it a little bit.


I'm showing a close-up of the pocket above, even though I know it is terrible. The trim is uneven on the left and I had to do two lines of stitching across because it didn't catch the back on the first go. Chess really loves pockets, though. And it just goes to show it doesn't have to be perfect to be loved, and it's hard for most people to see the mistakes, usually.


There it is in action. I tied the straps in an X on her back instead of straight on the shoulders as an after-thought, so they wouldn't fall down. I should have planned ahead for that, though, because it makes a big gap in the back. Oh well.


And here is the easy star-banner! I had so much fun making this. Did you know you can cut a nearly-perfect star out of a piece of paper with only a few, easy folds? Learn how here. That was all the decorating I did this year, but I like it simple. You could use the stars for so many different crafts, all year long. Enjoy!

Tuesday, June 29, 2010

Bean Bag Toss Game

I've been wanting to sew some bean bags for my daughter for awhile. They were very easy to make - a great project for a beginner. I used some old, sturdy fabric from my stash. It actually came from an old rocking chair cushion I just couldn't throw away.


The game is made from a diaper box. I traced circles on top and cut with a knife. My toddler helped me decorate it with construction paper.


The whole family enjoys this game. The baby chews on the bean bags, the toddler practices her aim, and the momma and daddy have friendly competitions standing great distances from the box. Not bad for a free craft.

A Gift

I did a couple of onesies with appliques and matching bottoms for a friend's baby shower. One for this fall and one for next summer. The appliques and pants/shorts are made from upcycled t-shirts.


Skirt for Momma

I finally made something for myself. This fabric was on clearance, so I had to grab two yards. I have a favorite, comfy skirt I wear all the time, so I wanted to try and copy it.


It looks okay, but it's not nearly as comfortable or cool as my brown skirt. I think the fabric is not very breathable, plus I lined it with a fabric I already had on hand, and it's cotton, so it doesn't have any give. Anyway, I can still wear it, so it's not a total loss.

Sunday, May 23, 2010

4 Quiet Book Pages Finished

Flower Page

The felt flowers come off and can be buttoned on whichever stem you please.

Purse Page

It has a working zipper and goodies can be placed inside.

Tic-Tac-Toe Page

Complete with a little pocket to place X's and O's.

Shapes and Colors Page

Shapes attach with velcro.

Most of these ideas are pretty basic and I saw them in more than one place online, although the purse one I remember from here.

Only a few more pages and the cover left to complete!

Friday, May 21, 2010

Magnetic Menu Board with Rose Magnets

This is a craftalicious original, brought to you by my mother, Becky of Mesa, Arizona.


She has always been little miss crafty pants and is very multifaceted. She's a talented woman, that one is, so I'm sure you will see more of her on this blog in the future.  This is her tutorial for a magnetic menu board with matching fabric rose magnets.


Supplies: 
  • metal sheet (bought at Home Depot or Lowes) mine is 12X 18 inches
  • fabric to cover front and back, wrapped around short ends of metal sheet
  • wide ribbon which is wrapped on the 2 long sides of your board
  • glue gun and glue
  • round disk magnets
Directions for board:
  1. Cut one piece of fabric to cover both sides of metal sheet, overlapping about 1 inch on backside. Cut within 1/2 inch on both long sides. Do not take fabric to the exact edge.
  2. With hot glue gun, glue only short edges of fabric after stretching it around metal sheet, overlapping fabric on back side and gluing the edge down.
  3. Glue ribbon on both long sides, folding half of ribbon on and around edge of metal sheet.
Directions for fabric rose magnets:
  1. Cut several 1.5 - 2 inch strips of fabric per rose petal. Each flower needs 3.
  2. Fold lengthwise and roll each strip and secure with glue on end.
  3. Glue raw edge of each roll to the raw edge of the next petal. Rolls are flat on bottom so that magnet disk can be glued to the underside.
Place Magnetic Menu Board on any pedestal to display or hang on a wall.